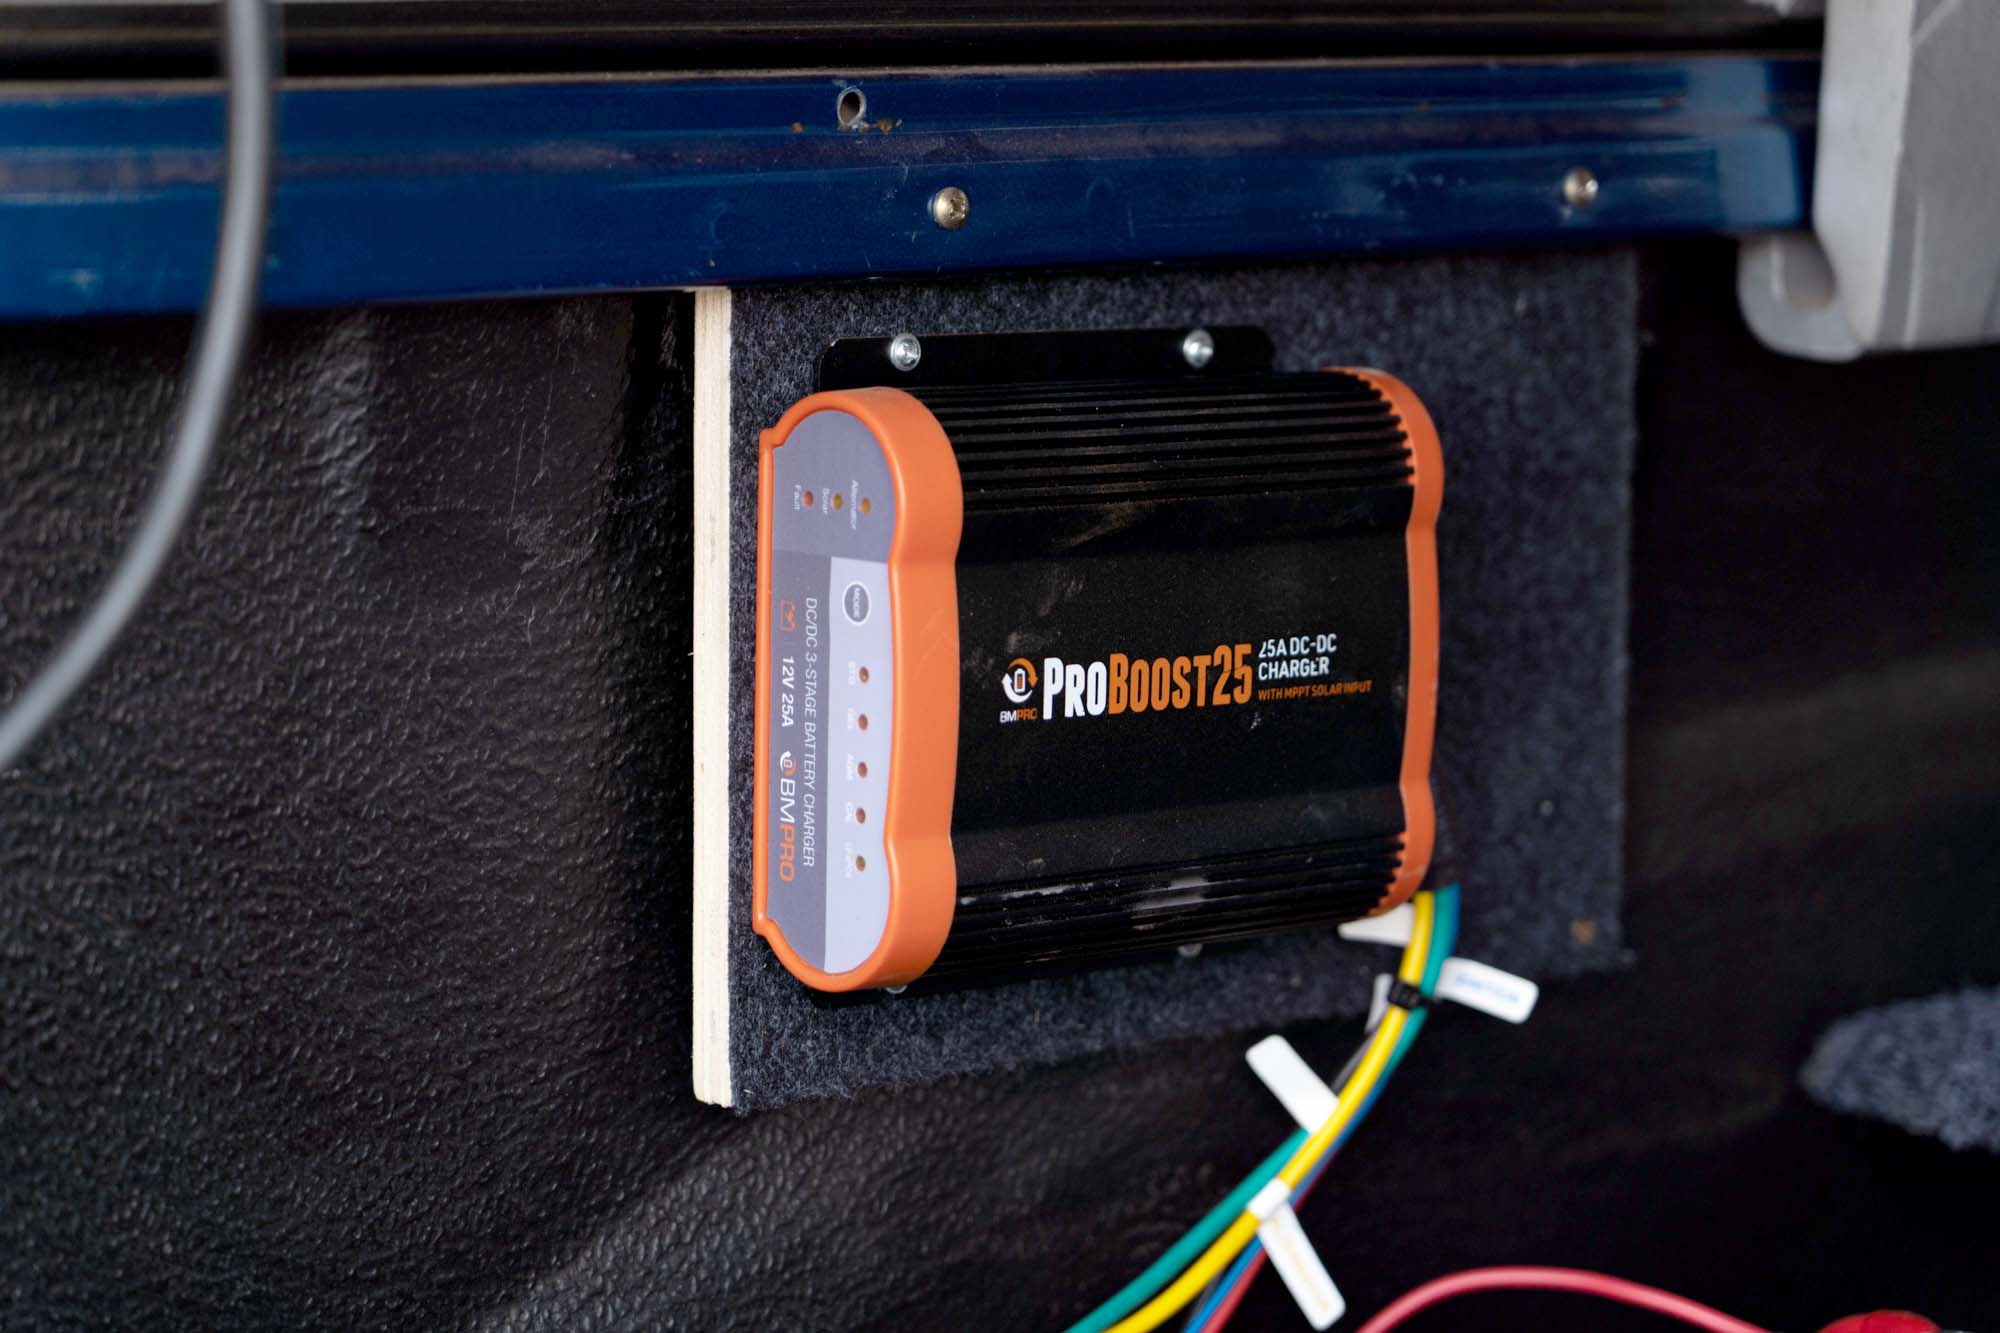
BMPRO, famous for high-power, quality charging systems for caravans and campers have announced a new range of DC-DC chargers ideal for under-bonnet, inside and in canopies of utes and SUV’s. Introducing the BMPRO ProBoost.
The ProBoost DC-DC chargers can be had in both 40amp (ProBoost40) and 25amp (ProBoost25) with profiles for AGM, lead acid and importantly, LiFePO4 lithium batteries. They are smart alternator compatible, thin, lightweight and able to mounted in any orientation.


Able to take 9-18V power sources, ProBoost DC chargers have inputs for solar and from your vehicle's alternator with charging outputs up to 40amp (ProBoost40) at an incredible 95% efficiency. ProBoost blends both the solar and auxiliary inputs together, to ensure there is always a consistent charge to your second battery. They include an in-built MPPT solar regulator to maximise your solar input.
ProBoost DC chargers are fully sealed & potted, rugged and capable of being installed in the engine bay or in the canopy or in-cabin making them perfect for extreme under-bonnet conditions like river crossings, mud or corrugated roads.
ProBoost chargers feature a range of protective features such as overtemperature, overvoltage and undervoltage protection, which will guard your vehicle’s charging capacity and batteries.
BMPRO have made installation easy for DIY or professionals with pre-packaged wiring kits which is exactly what we did for a recent trip across the Nullarbor.
DIY DC-DC CHARGER INSTALLATION
The ProBoost comes with terminated wires from the fully sealed unit. These are colour-coded and labelled meaning installation is a breeze. All you really need to do is understand the gauge of wire needed, where is best to mount your in-line fuses and if you wanted to, where to mount things like a voltage gauge.
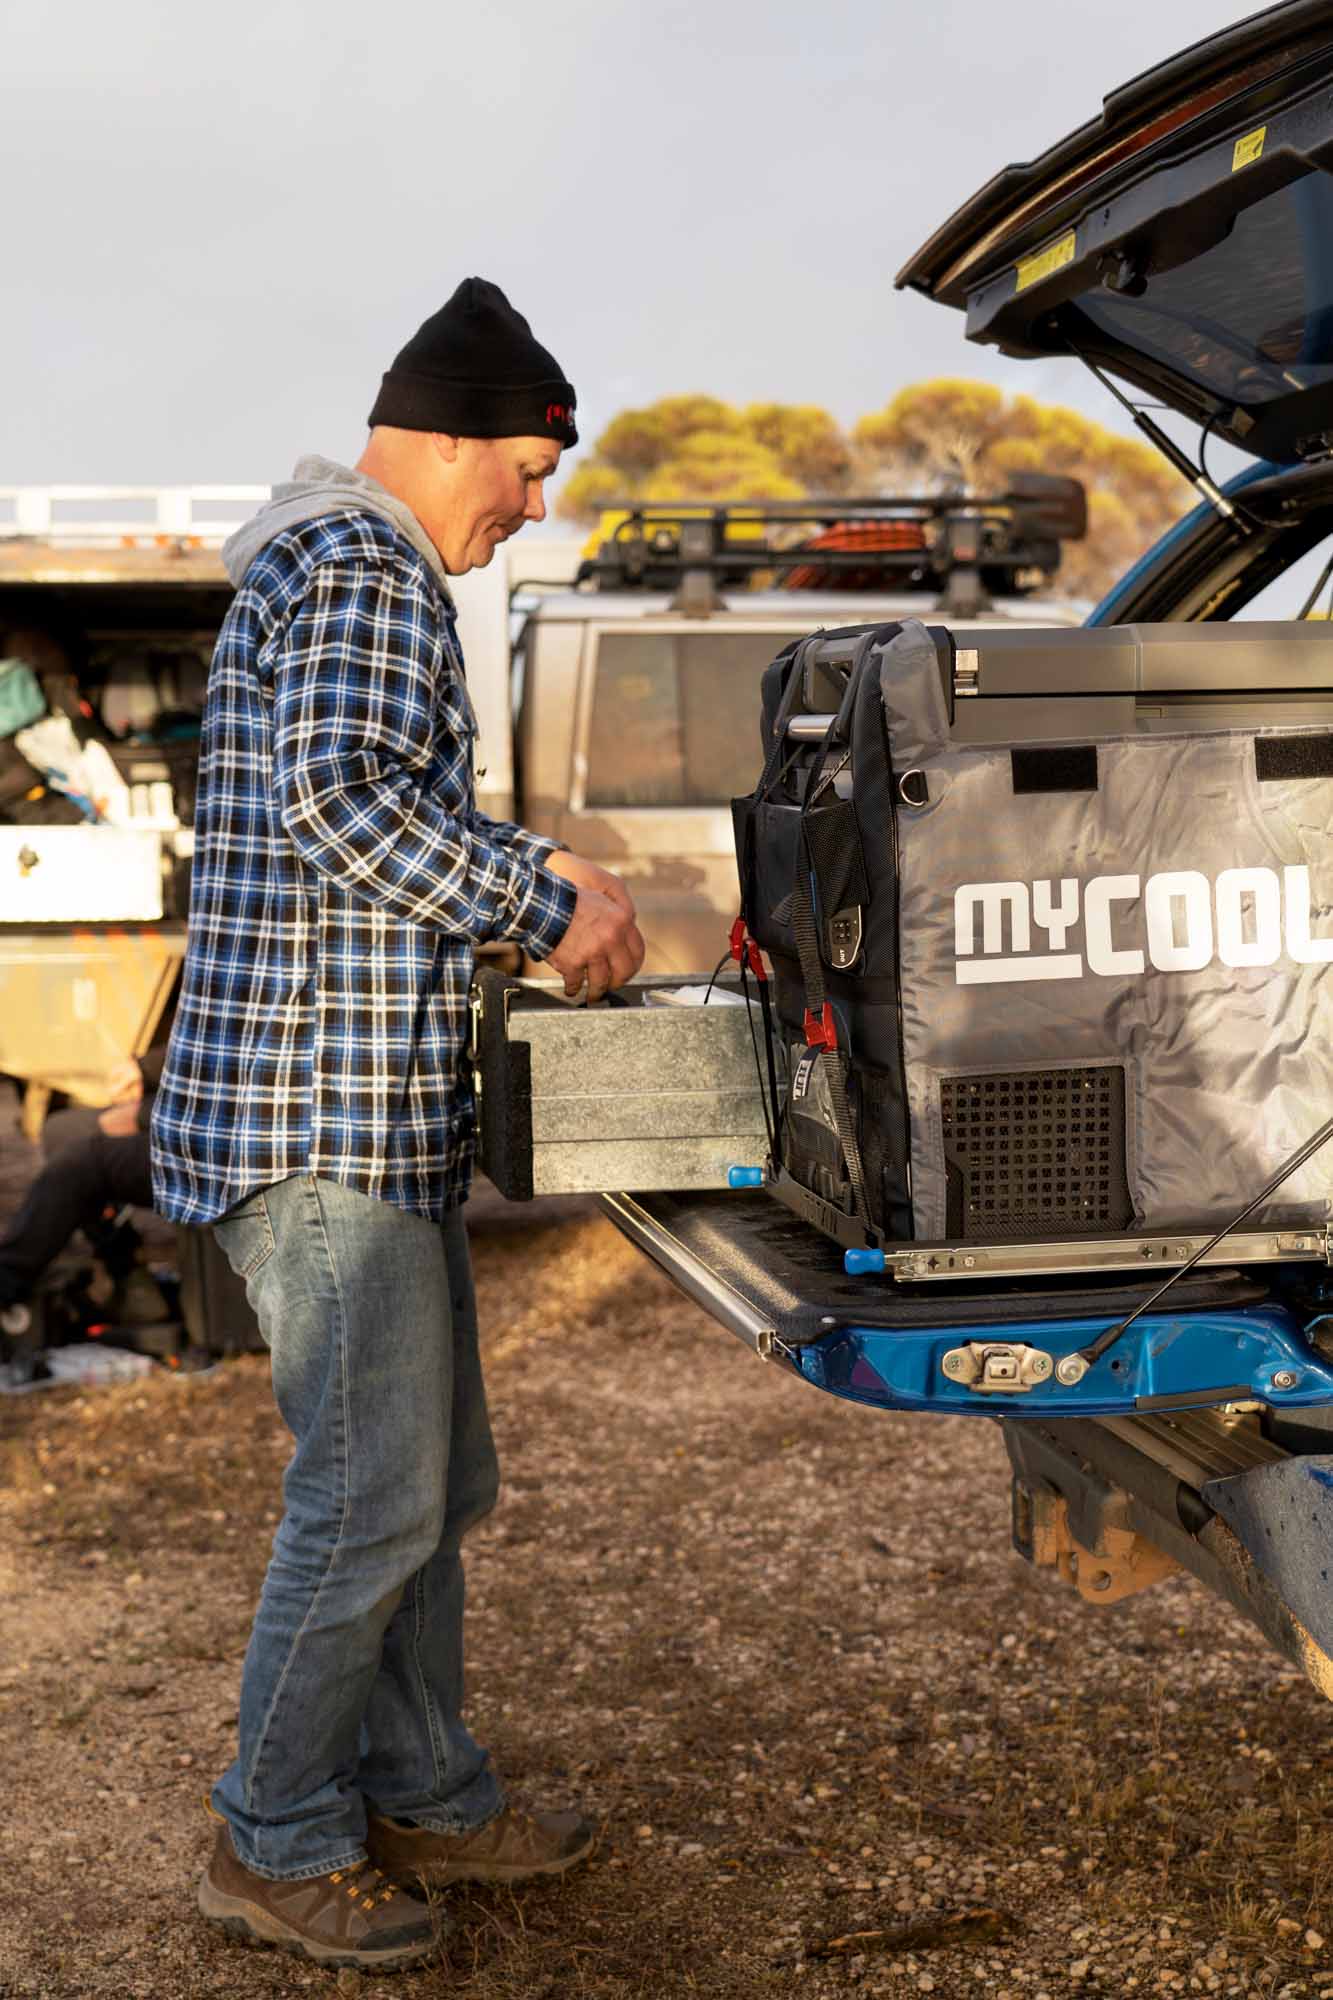
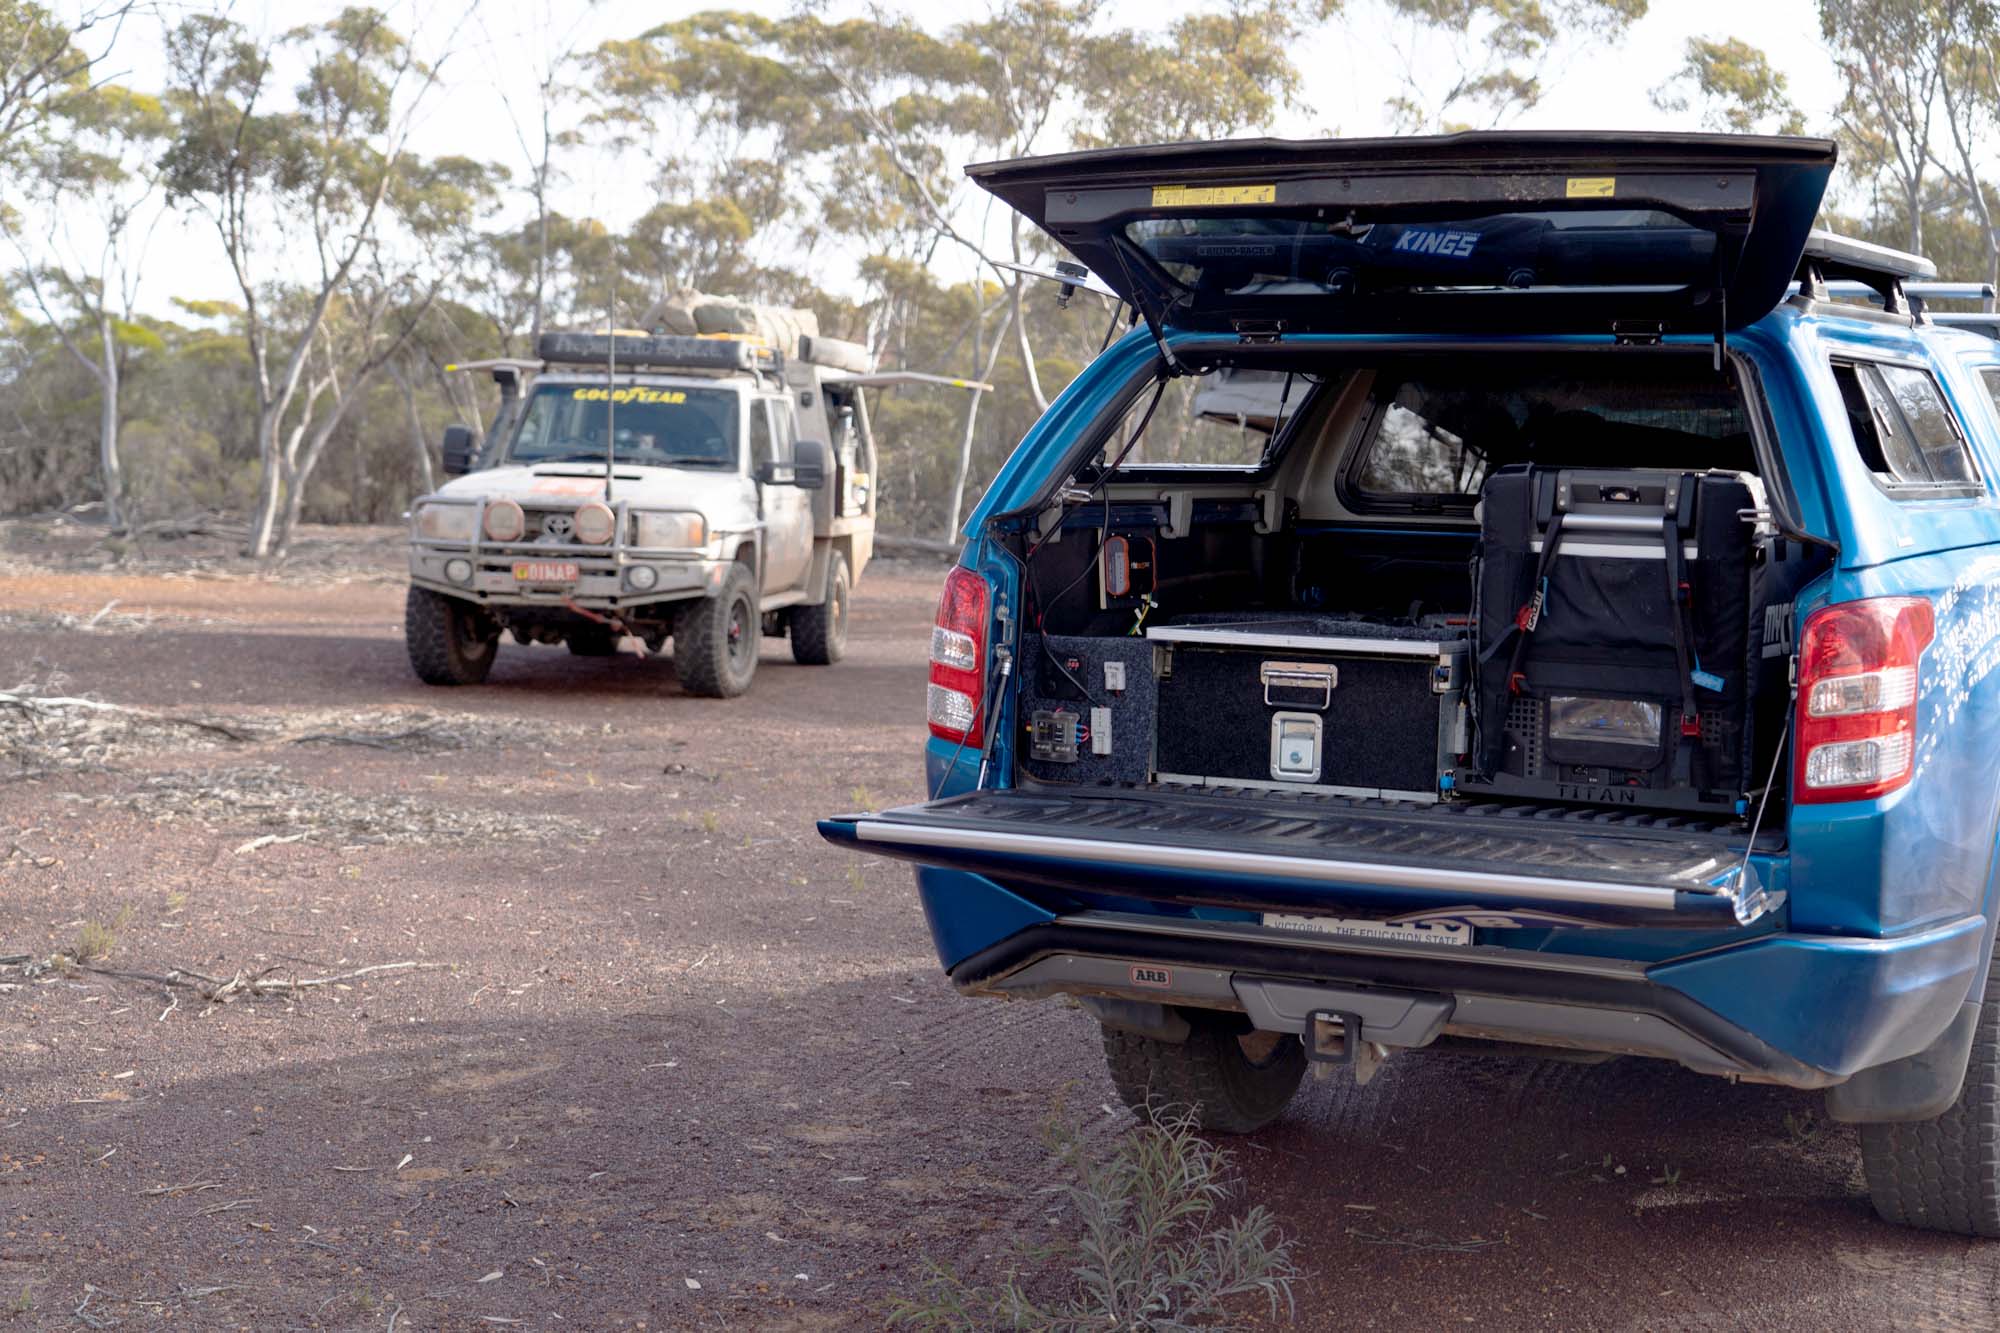
HOW WE INSTALLED THE PROBOOST DC-DC CHARGER IN THE TUB OF A UTE
To determine the appropriate wire gauge for any 12V DC electrical system, you will need to consider the amount of current that will be flowing through the wire and the distance the wire will be running. In the case of the ProBoost25, which we installed, the total amps from the charger to the battery peaks at 25amp.

Mounting the ProBoost in the tub means it's around 3-4m (as the wire runs) from the charger so BMPRO recommends 10 AWG for solar, alternator, output and ground and 20 AWG for the ignition source wire.
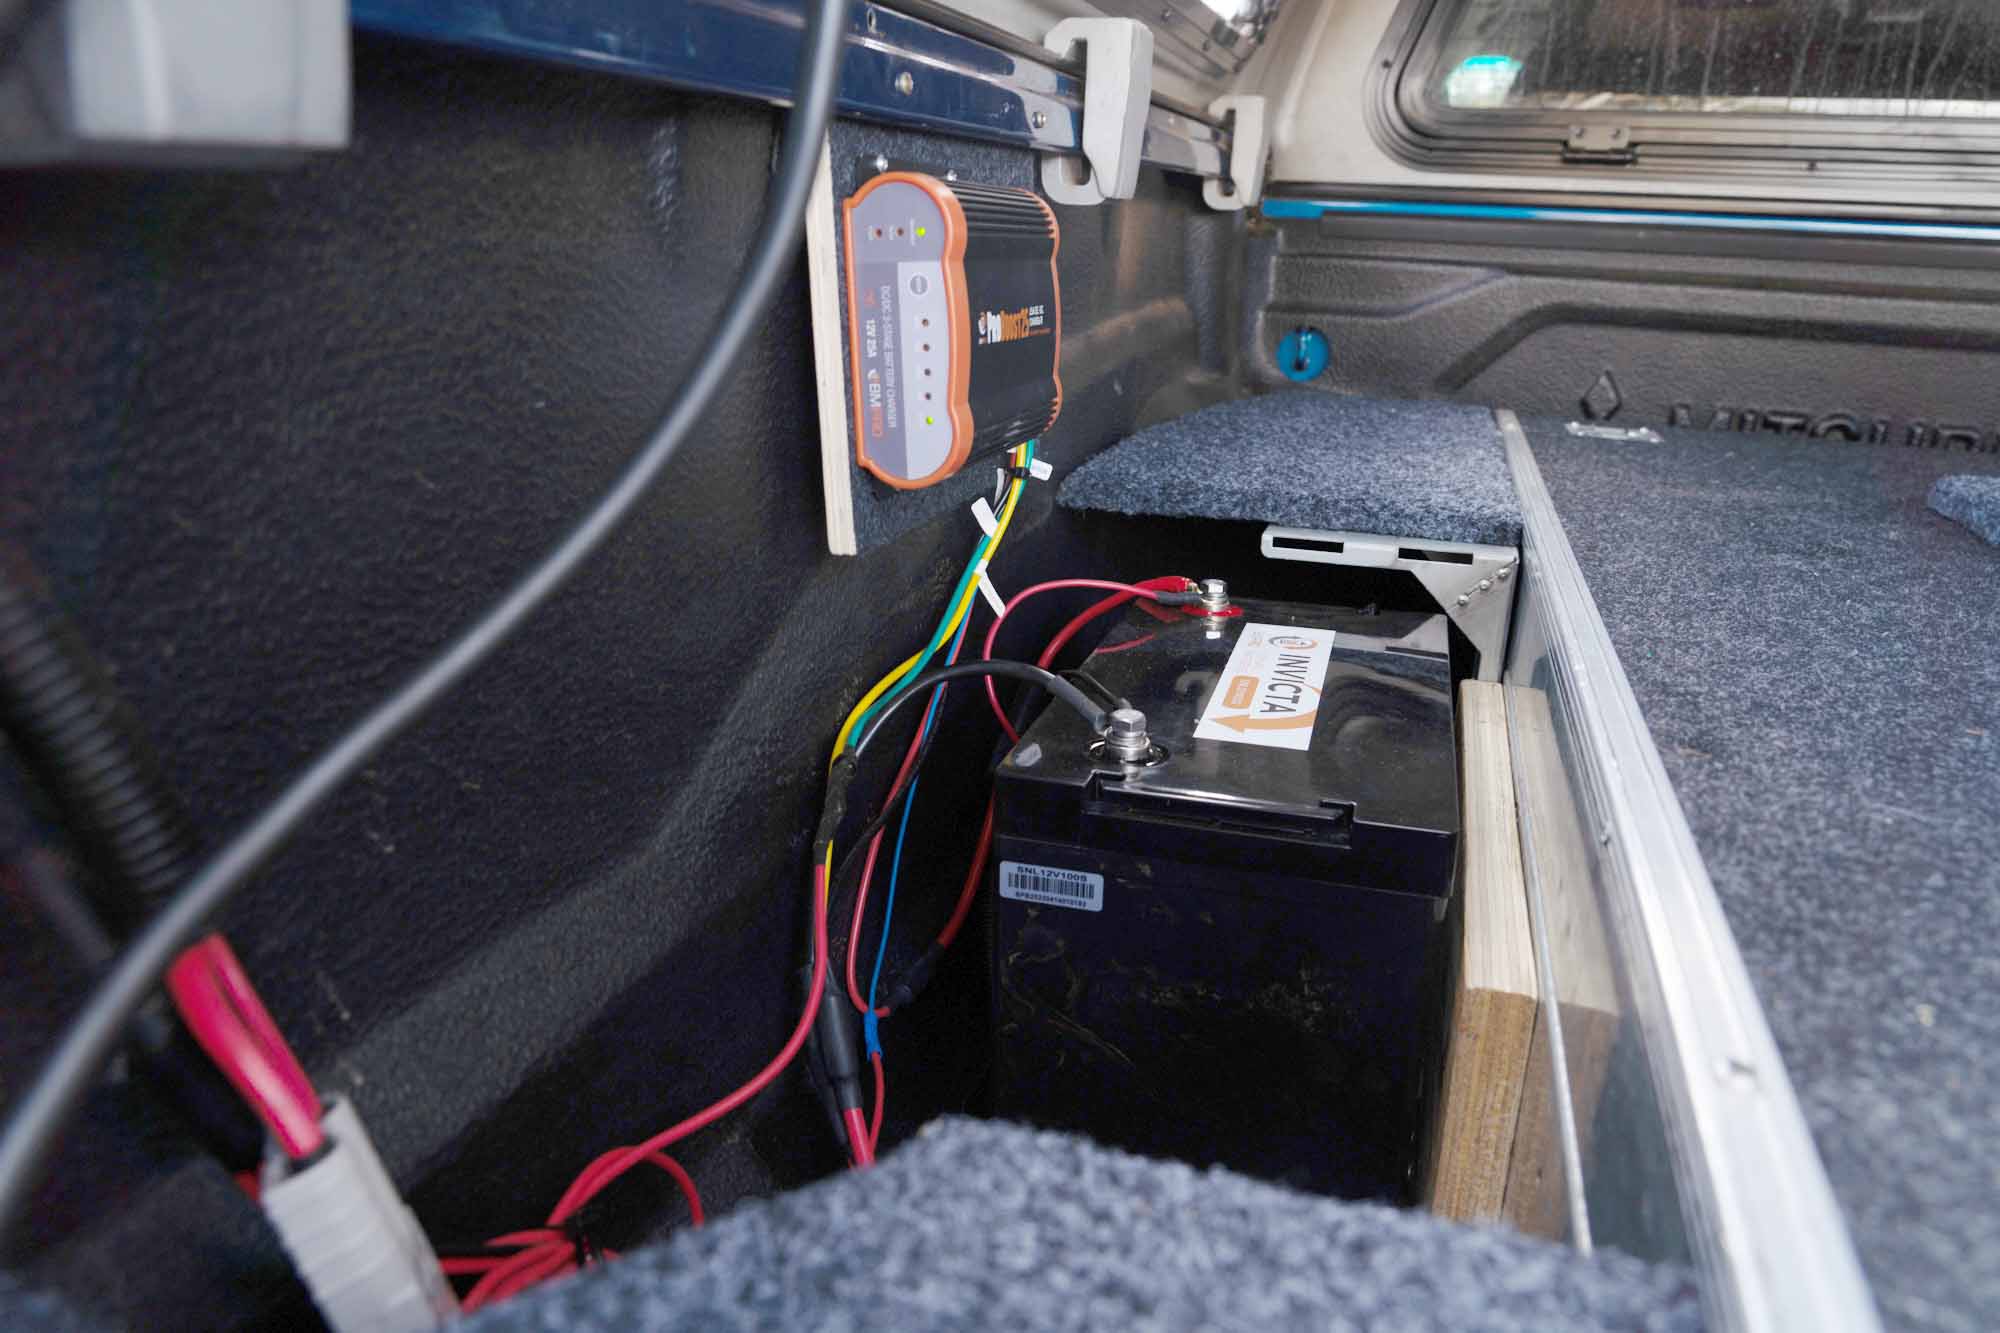
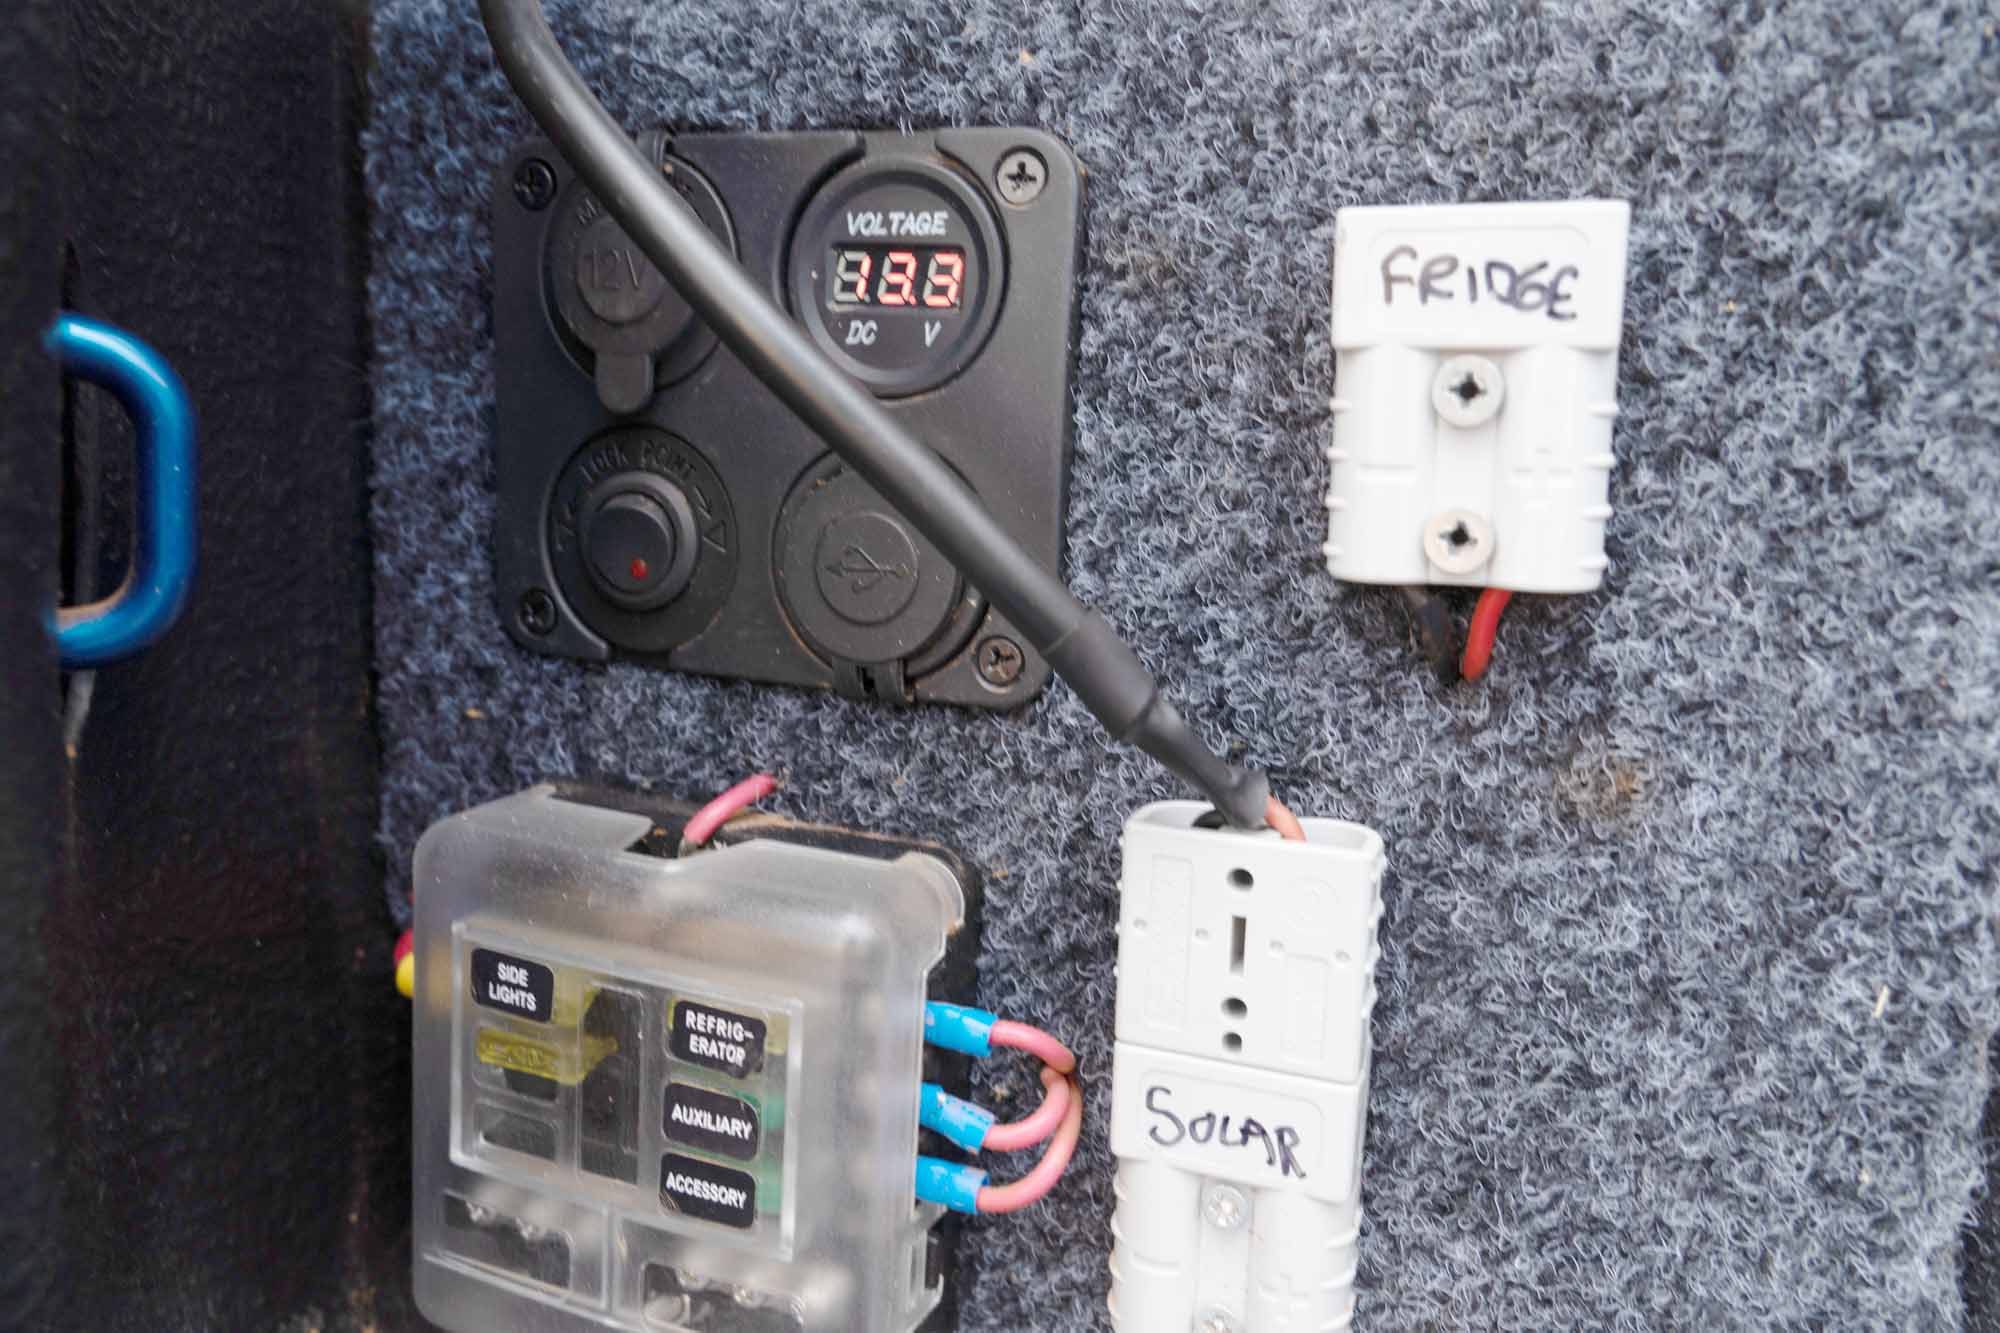
Things like earthing are obvious, make sure you earth the battery to a clean ground as close to the terminals as possible. If you are earthing to a tub on a chassis, make sure the tub is grounded to the chassis. Adding the suggested 40A in-line fuse was done at the house battery (the car's main battery) and we added an in-line volt gauge where our input and output Anderson plugs were mounted so we could keep an eye on the battery’s state of charge.
FEEDING SOLAR INTO THE PROBOOST AND POWERING THE FRIDGE
As mentioned, the ProBoost DC chargers have in-built MPPT regulators and a clearly marked wire for its feed. We added an Anderson plug to the solar input and mounted it to the drawers the ProBoost and battery live under. This allows us to run a solar blanket or panel where we want with the feed wire run through the side window of the tub or out the rear tailgate. Beside it, we mounted a second Anderson plug to give power to the fridge from the battery.

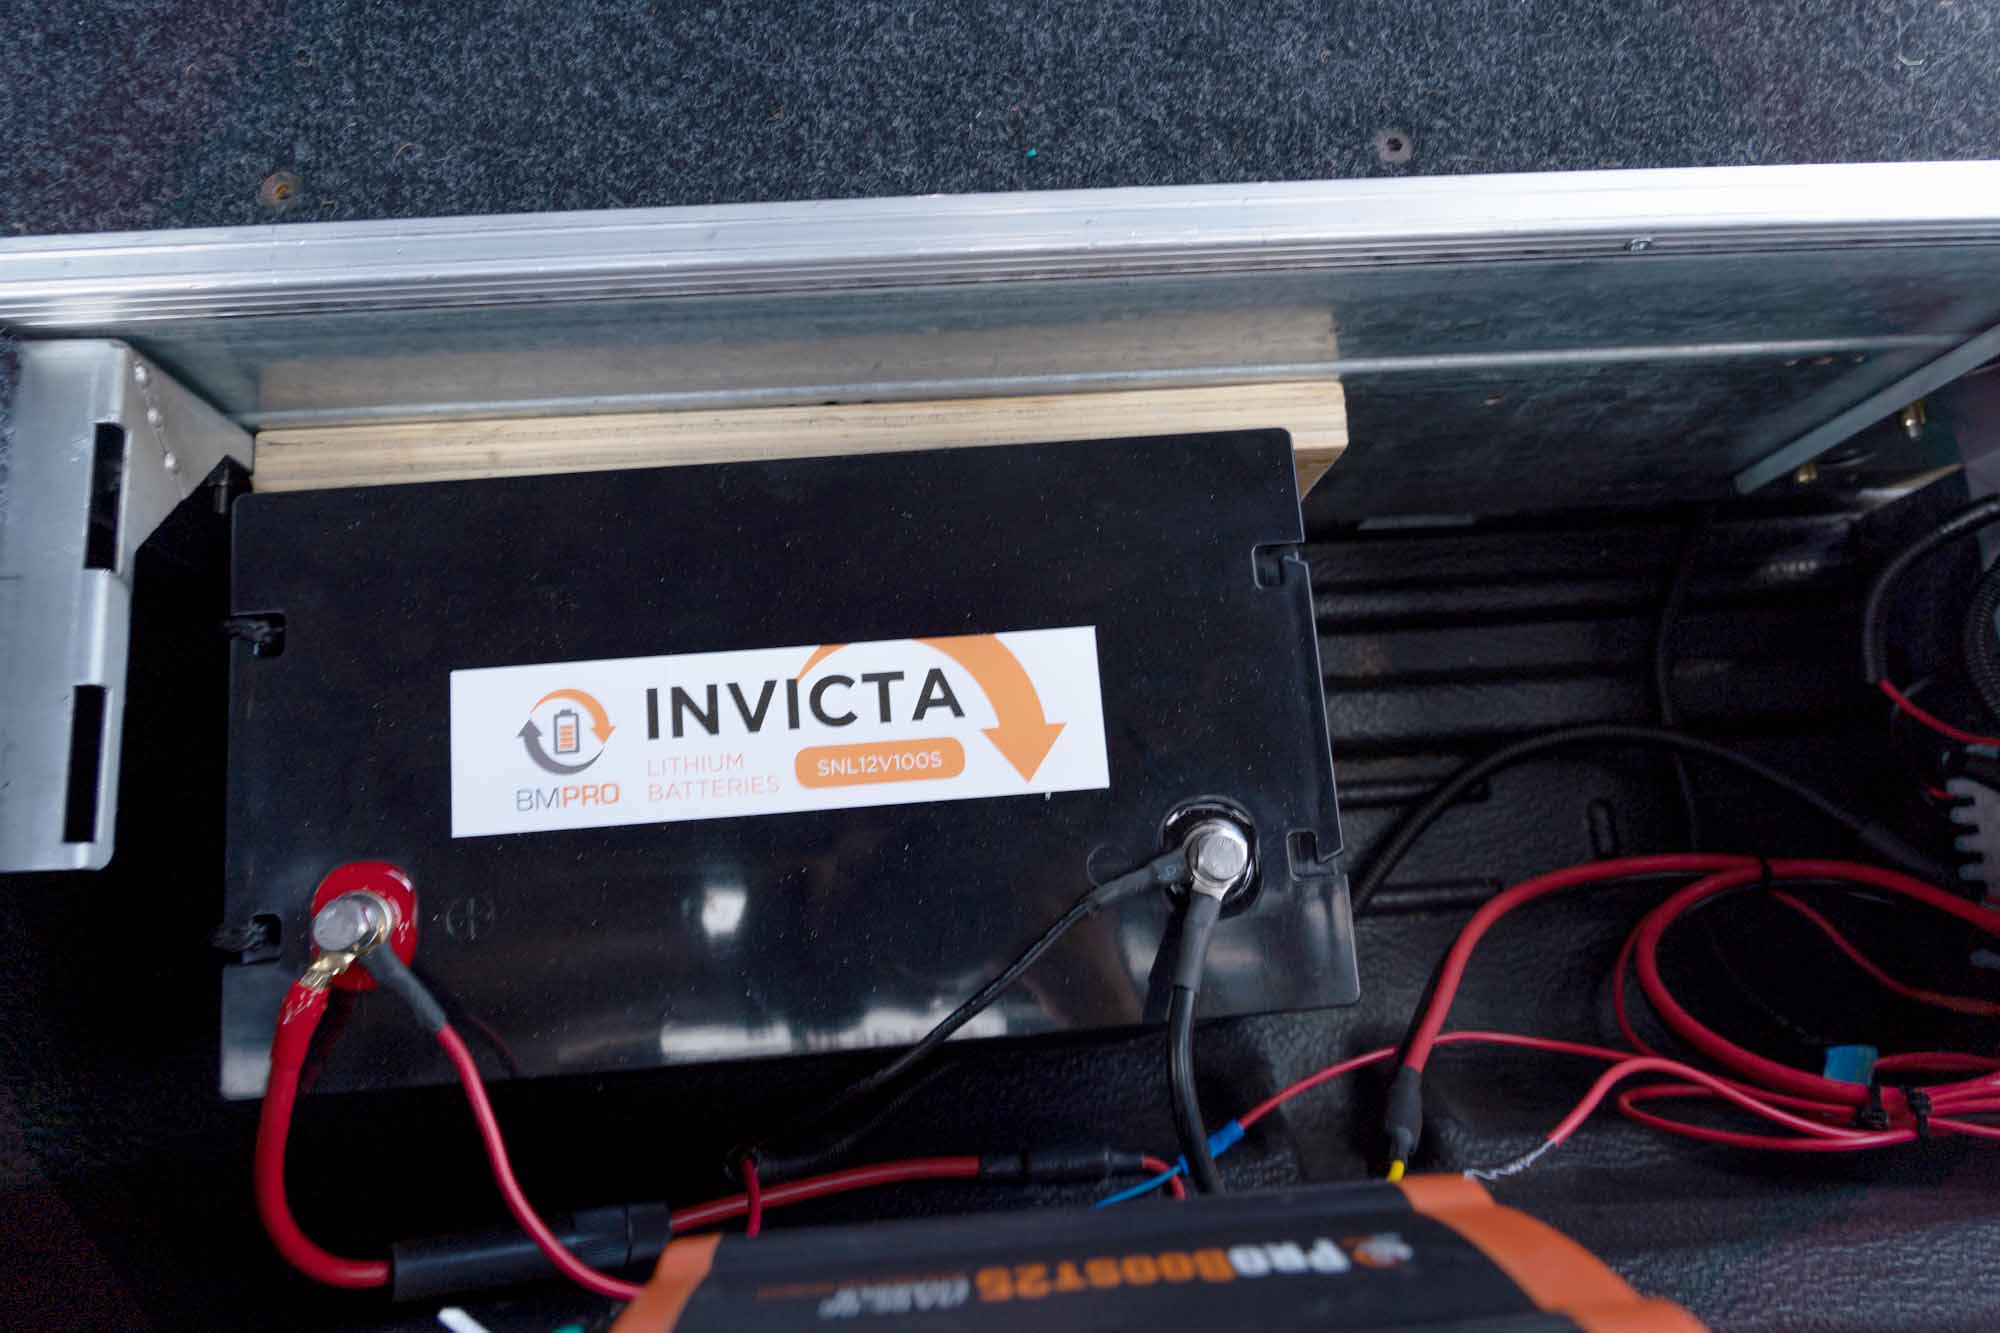
WHAT BATTERY SHOULD I RUN WITH THE BMPRO PROBOOST?
That's kind of up to you. With the ProBoost25, the most amps into the battery are 25 so you’ll not be overloading any decent AGM, LiFePO4 or lead acid battery. For our installation, we used an Invicta 100amp lithium that if it was nearly drained, would likely take only 4-6hrs to charge to nearly full (remember that the last 20% charge often takes the longest). Knowing that we’d opt for the ProBoost40 for battery banks of more than 200a/hr just to ensure you’ll get a near-full charge in a typical day of driving.
WHAT SOLAR BLANKET SHOULD I USE WITH A PROBOOST25?
The best you can afford. Not joking, a good blanket will cost more but will deliver a better result. Aim for 200W which at 12V in ideal conditions should pump in around 8amp. If you go for a hard panel of the same rating, you should see closer to 12amp feed into the ProBoost. Going a 400W solid panel would be ideal for anyone that is keen to stay off grid indefinitely with appliances drawing 4amp/hr (think a combination of lights and a big, modern fridge).
OUR THOUGHTS ON THE PROBOOST25
Pricing is TBC. At the time of testing it was not yet confirmed but will be competitive with the main rivals like the REDARC BCDC1225 (seen at up to $699) and Projecta25 (seen at around $325).
UPDATE: Pricing has been released - the ProBoost25 retails at $445 and the ProBoost at $595
It operated exactly as it should and was easy to use once we found a faulty in-line fuse (ours, not supplied by BMPRO). The LED indicators are easy to read and switching between charging profiles was simple.

One thing we did notice and should be remembered for any in-canopy or in-cab installations of DC-DC chargers is that they can get quite warm and the ProBoost25 was no exception which felt around 40-45degC to the touch. At those temps, it won't be a safety issue it could add to in-canopy temps so it's suggested to mount yours where there is good ventilation. BMPRO recommends the ProBoost be mounted somewhere with good ventilation, ideally with continuous airflow.